
To install Bash on your Windows 10 machine, make sure you have the latest Windows 10 update and are using a 64-bit OS.
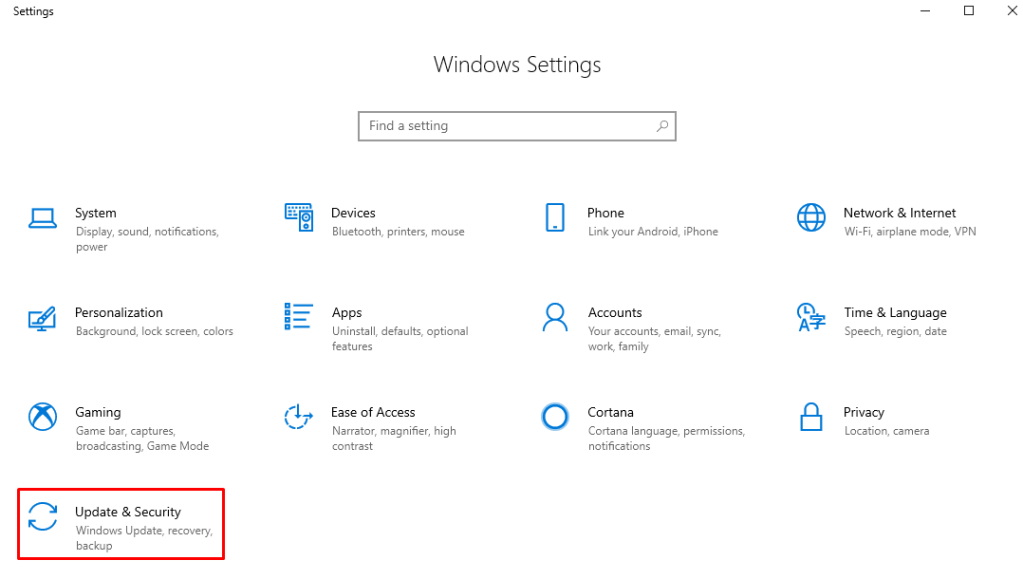
First, search for and open “Settings” from the start menu. Then click “Update & Security” as seen here:
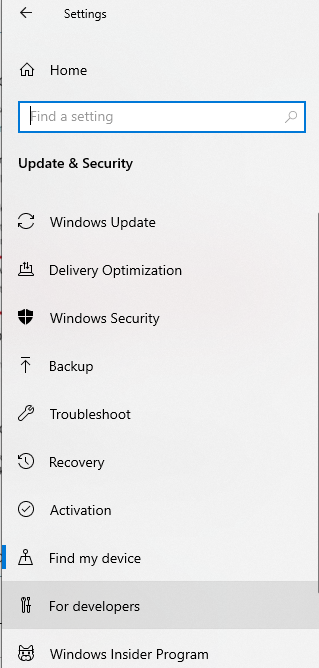
Click on “For Developers” from the sidebar:
Select the option for “Developer mode” and select “Yes” at the prompt:

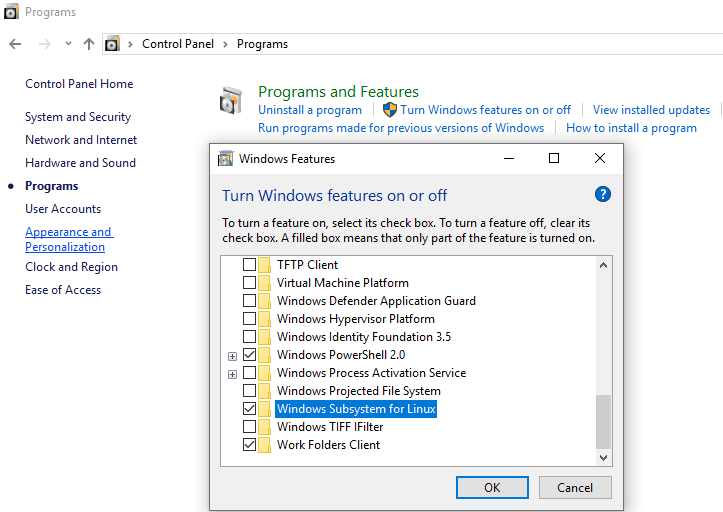
The components will take a while to install. Once this is finished, open the Control Panel, click on “Programs“, and click on “Turn Windows features on or off” under ‘programs and features.’ In the new window that pops up, scroll down and select the “Windows Sybsystem for Linux” option.
After this, restart your computer. When your computer has finished rebooting, search for bash.exe in the start menu. You should be able to install a Linux distribution from the windows store via the command prompt, and setup a Linux user by running this executable, however, sometimes you will have an error where bash.exe will not launch a command prompt window. If bash.exe will not open, go to aka.ms/wslstore on your browser to open up the Windows store, where we will manually install a Linux distribution:

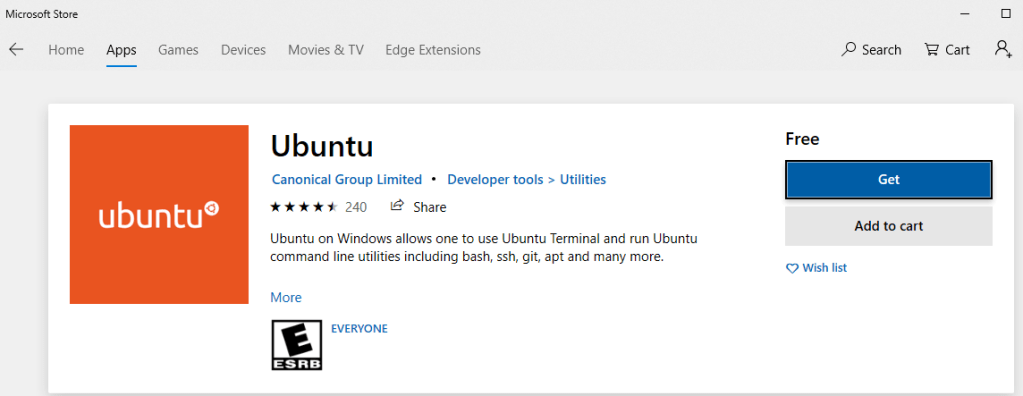
In this example, we are going to install Ubuntu:
Once Ubuntu is finished installing, we will click the “Launch” button to launch Ubuntu on our Windows machine:
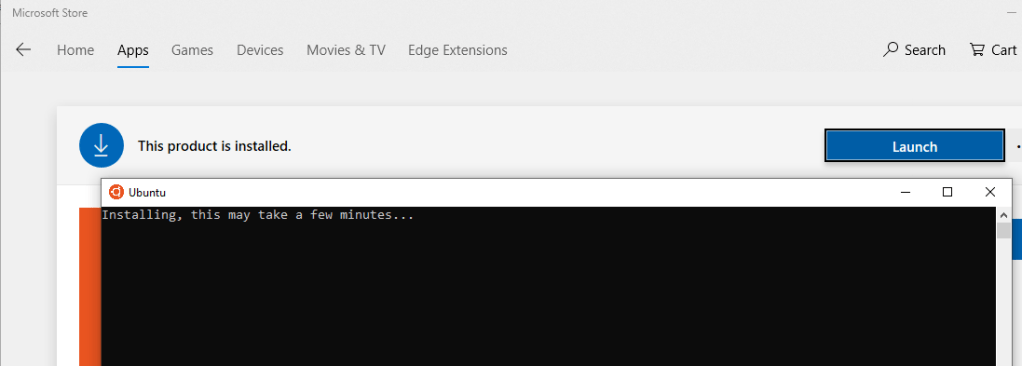
Once the installation completes, you will be asked to make a username and password and will immediately have access to your bash shell. From here, you can begin typing Linux commands on your own Windows machine! If launching bash.exe worked for you, it should immediately send you to this same environment to set up your username and password instead of having to install Ubuntu manually from the Windows Store:

To have access to this shell again, simply search for and open Ubuntu (or whichever distribution you chose to install) in the start menu, and you will have access to it again immediately.
