Nwipe is a fork of the Darik’s Boot and Nuke (DBAN) tool. The purpose of a DBAN is to securely erase a hard disk until the data on it is permanently removed. I will be showing you how to install and use the Nwipe tool on Ubuntu Desktop 19.04 (Though this should be the same process for any version of Ubuntu Desktop).
- Open the terminal in Ubuntu and type the following command:
sudo apt install nwipe - Once the installation is finished, type the following command to open the nwipe tool:
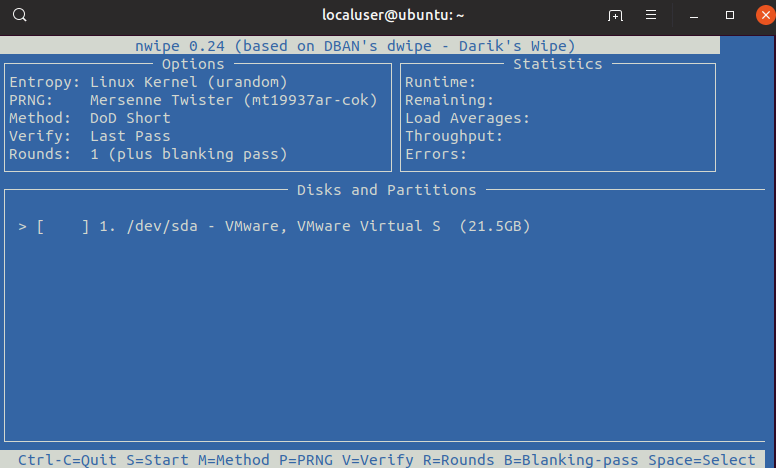
sudo nwipe - To select the drive you want to wipe, you can navigate with the up/down arrow keys and then press the space bar to select that drive for wiping. Be careful not to select the drive that your OS is installed on, or you will compromise your workstation.
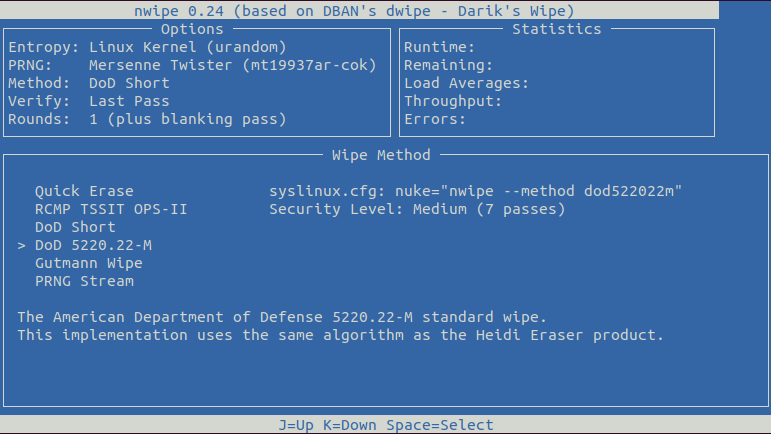
- At the bottom of the terminal, Nwipe will give you options to modify the method you want to use for wiping, how many rounds you want, whether or not to verify each pass, and what PRNG you want to use. Typically, I will modify the method and change it to “DoD 5220.22-M” and leave everything else at its default.
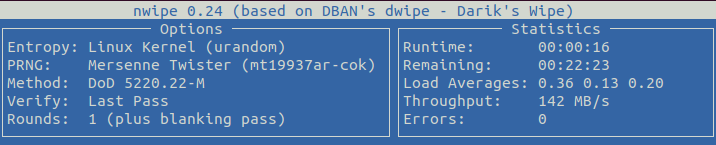
- Press the Shift+S keys in combination to begin the wiping process. This process can take quite a while, and the program will keep you updated you under the “Statistics” column what your runtime is and the estimated amount of time left for the wipe.
- When the wipe is finished, you can quit the program by using the Ctrl+C keys in combination.